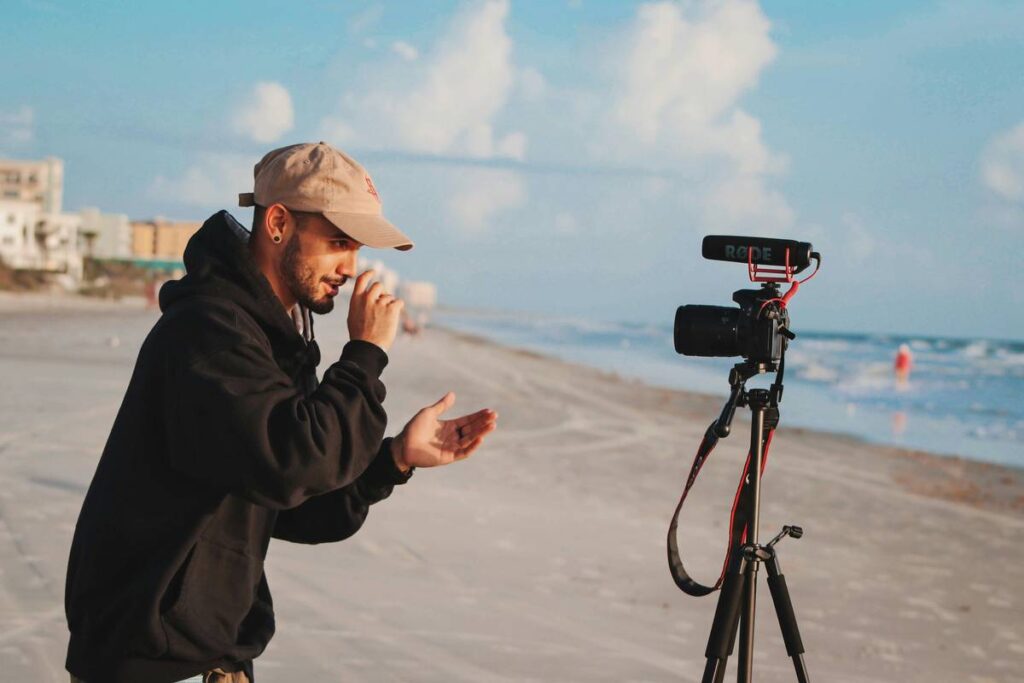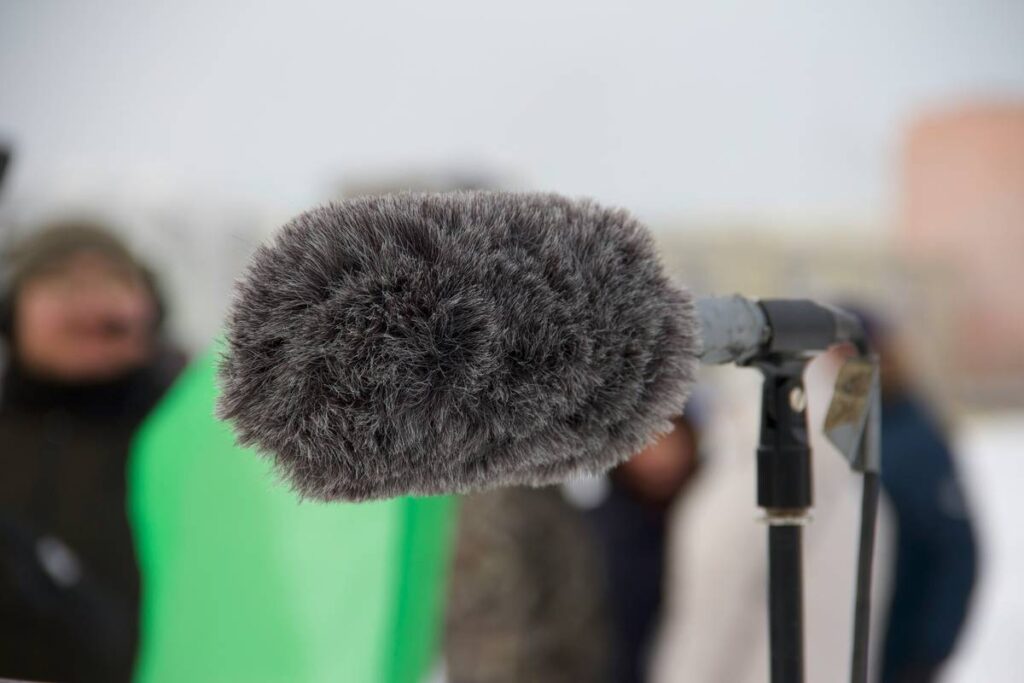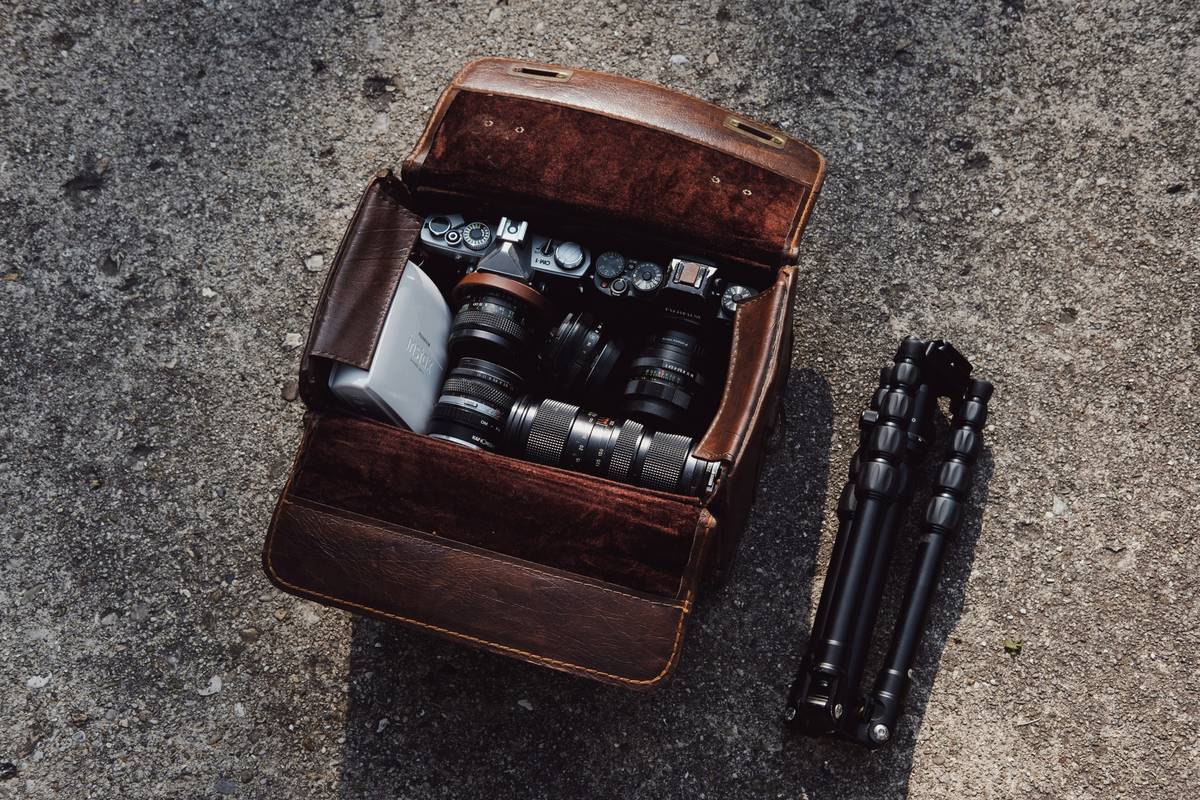
You spent hours choosing your vlogging rig—camera, mic, cage, batteries. Then you shoved it all into a “camera cage travel bag” that barely zips shut. Cables tangle. Screws vanish. Your cage gets dented by a loose lens cap. Mid-trip panic hits. You’re not alone. Most travel bags marketed to creators are glorified duffels with false compartments. The fix isn’t buying more gear—it’s rethinking how you pack it.
The Invisible Tax of Poorly Designed Bags
Generic camera bags treat cages like afterthoughts. They assume you’ll disassemble everything before packing. But who has time for that between flights? And why should you? A cage stabilizes your setup—it’s core to your workflow. Yet 90% of “travel” bags force you to break it down just to fit.
That repeated assembly/disassembly wears thread inserts, risks sensor dust, and burns creative energy better spent filming. The real cost isn’t the $200 bag—it’s the lost minutes, missed shots, and frayed patience.
How to Pack a Camera Cage Travel Bag Like a Pro
Forget stuffing. Think modular nesting. Every component should slot into place without negotiation.
Step 1: Map Your Cage’s True Footprint
Measure your fully loaded cage—not just the baseplate. Include rods, handles, even the HDMI cable strain relief. Most creators underestimate depth by 1.5 inches. That gap kills internal organization.
Step 2: Choose Compartments That Mirror Your Workflow
Your bag shouldn’t just hold gear—it should reflect how you use it. Top-access for quick-grab items (battery, SD cards). Side pockets for cables coiled around velcro spools. A rigid center bay sized precisely for your caged camera.
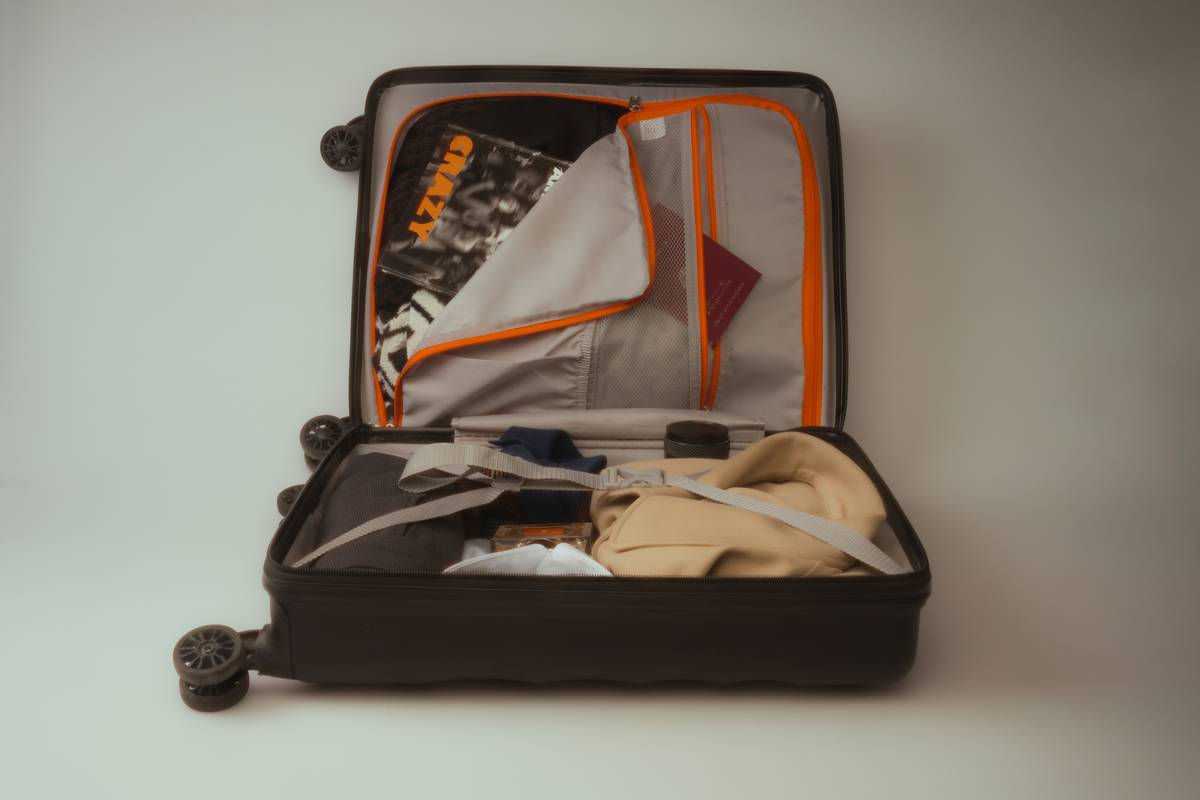
Step 3: Prioritize Crush Resistance Over Weight
Yes, lightweight sounds ideal. But if your bag collapses under a backpack or overhead bin pressure, your cage bends. Look for EVA foam walls ≥8mm thick and reinforced stitching at stress points. Sacrifice 0.4 lbs for peace of mind.
| Packing Method | Setup Time After Landing | Risk of Damage | Ideal For |
|---|---|---|---|
| Disassembled in generic photo backpack | 12-18 mins | High (loose screws, scratched rails) | Studio shooters |
| Semi-modular pouches in carry-on | 6-9 mins | Medium (cable snags, minor dents) | Weekend vloggers |
| Dedicated camera cage travel bag with custom dividers | Under 3 mins | Very Low | Travel creators & daily shooters |
The Industry Secret No Brand Wants You to Know
Most luggage companies design bags based on airport carry-on size limits—not creator ergonomics. Here’s the truth: the ideal camera cage travel bag often exceeds standard dimensions by just 0.8 inches in height. Why? Because that tiny buffer lets you keep your cage mounted with top handle and monitor attached. Airlines rarely enforce exact measurements—they care about total linear inches (L+W+H). So a bag measuring 22.8 x 14 x 9 inches still flies as carry-on on 95% of carriers. Yet no brand markets this loophole. They’d rather sell you two bags: one “approved” and one “pro.” Don’t fall for it.
Frequently Asked Questions
Can I fly with a camera cage travel bag as carry-on?
Yes—if total dimensions stay under 45 linear inches (e.g., 22x14x9). Most dedicated bags comply. Always check your airline’s specific policy but don’t over-prioritize “approved” labels.
Do I need a waterproof camera cage travel bag?
Not necessarily. Water-resistant exteriors with sealed zippers suffice for rain or spills. Full waterproofing adds weight and reduces breathability—overkill unless you shoot near oceans or in monsoons.
How much should a good camera cage travel bag cost?
Aim for $180–$300. Below that, corners are cut on foam density and zipper quality. Above $350, you’re paying for branding, not performance.